Nursery Dresser Project
Dustin and I found a dresser we like at a local furniture store, but we didn't love the price. I began searching consignment stores, and found a similar style piece. The only thing it needed, was to be painted, so the project began.
Here was the dresser when we bought it:

Here are the supplies that were needed:

Here are some pictures showing our hard work:

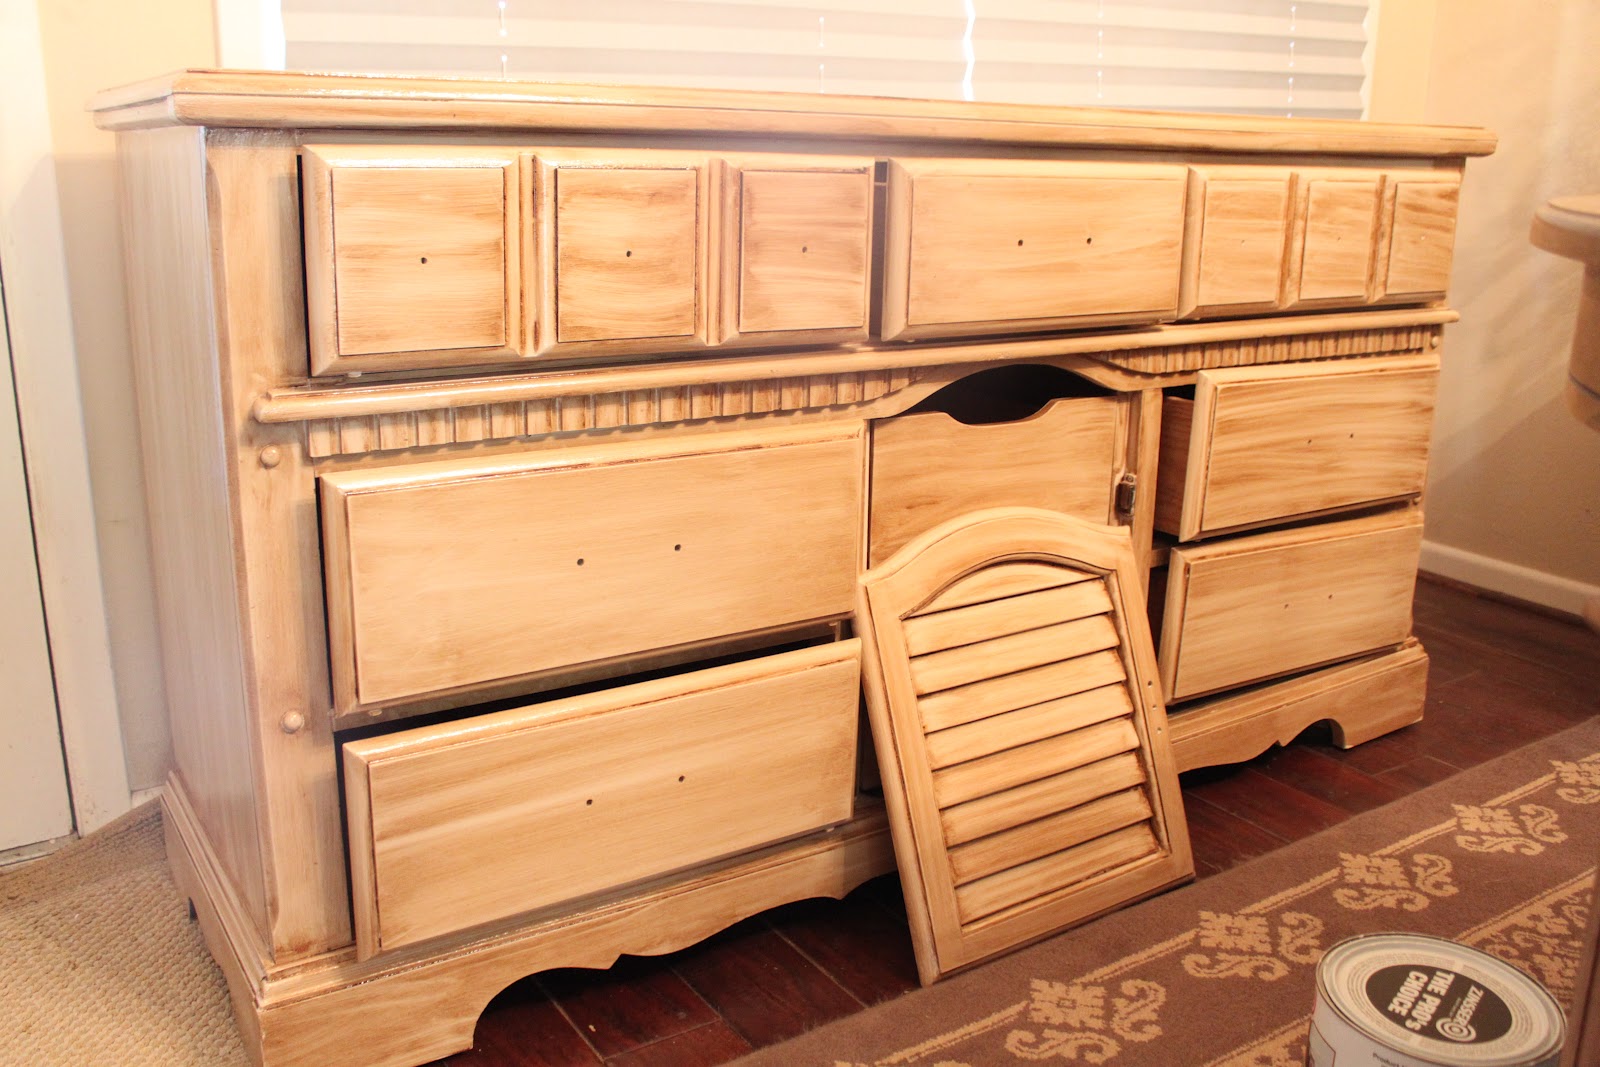
After doing a little research online, I found an awesome primer that claimed it did not require any sanding. After consulting at my local Sherwin Williams store, they agreed it was a fabulous product (even though they didn't carry it), but that they still recommended a "light" sanding. With that being said, I started with a light sanding, put on two coats of primer (was a little scared after the first coat, I was worried because it didn't cover everything - two coats was perfect!!), two coats of oil based paint, one coat of stain, and one coat of clear finish. Please note - even though I used an oil based primer and oil based paint, S.W. told me to use a water based finish. They told me that if I were to use an oil based finish it would yellow due to the stain. I was so glad my sales rep was so knowledgeable!

Here is the dresser almost finished...... I know I know, how weak, the final picture is an almost finished product. I was so excited the other day when I had put on the new hardware and hung the shutter door, but completely forgot to take a picture. I will take pictures of it in the nursery to show you all.
I love how the dresser turned out! Plus this DIY project only cost us one fifth the price of the new dresser we liked at the furniture store! :)
It looks great. I always loved your taste in furniture. Can't wait to see the finished nursery!
ReplyDeleteThanks Laine! I hope you guys are doing well!
Delete